How to Design Your Kitchen Cabinets [Ultimate Guide]
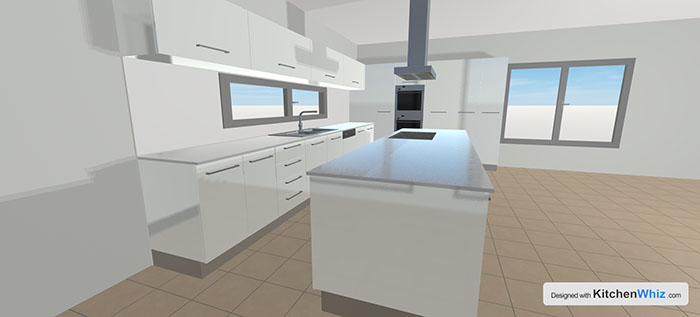
We have put together a 6 Step Action Plan that explains how to design your kitchen cabinets with KitchenWhiz.
In this guide, you will learn how to create amazing kitchen designs in minutes.
Feel free to skip to the section you care about:
- Step 1: Design Your Room Layout
- Step 2: Design Your Kitchen Layout
- Step 3: Is your Kitchen Layout Functional?
- Step 4: Customize your front views in 2D/3D
- Step 5: Download your Kitchen Plan in 2D/3D in 1-Click
Step 1: Design Your Room Layout
In the very begin, KitchenWhiz will ask you to design your room layout.
You can choose between a standard or custom room shape.
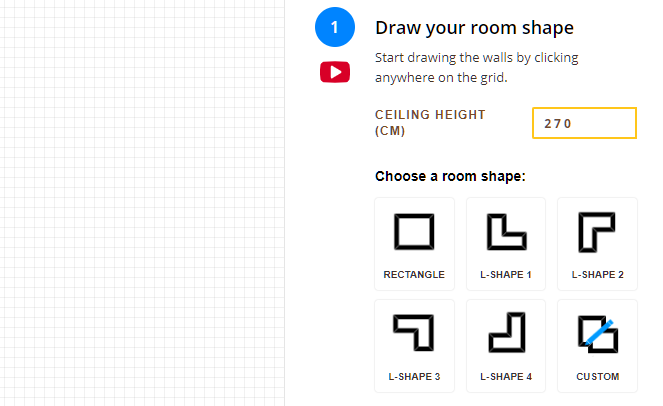
Did you pick a standard shape? Resize the room by dragging the corners.
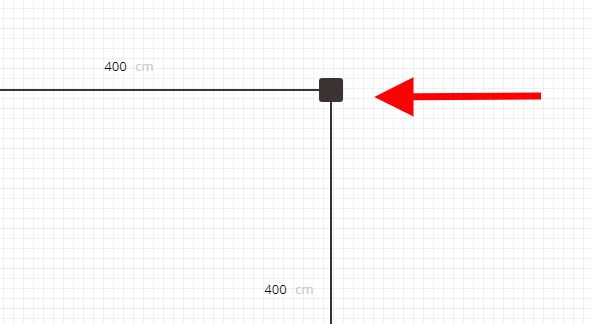
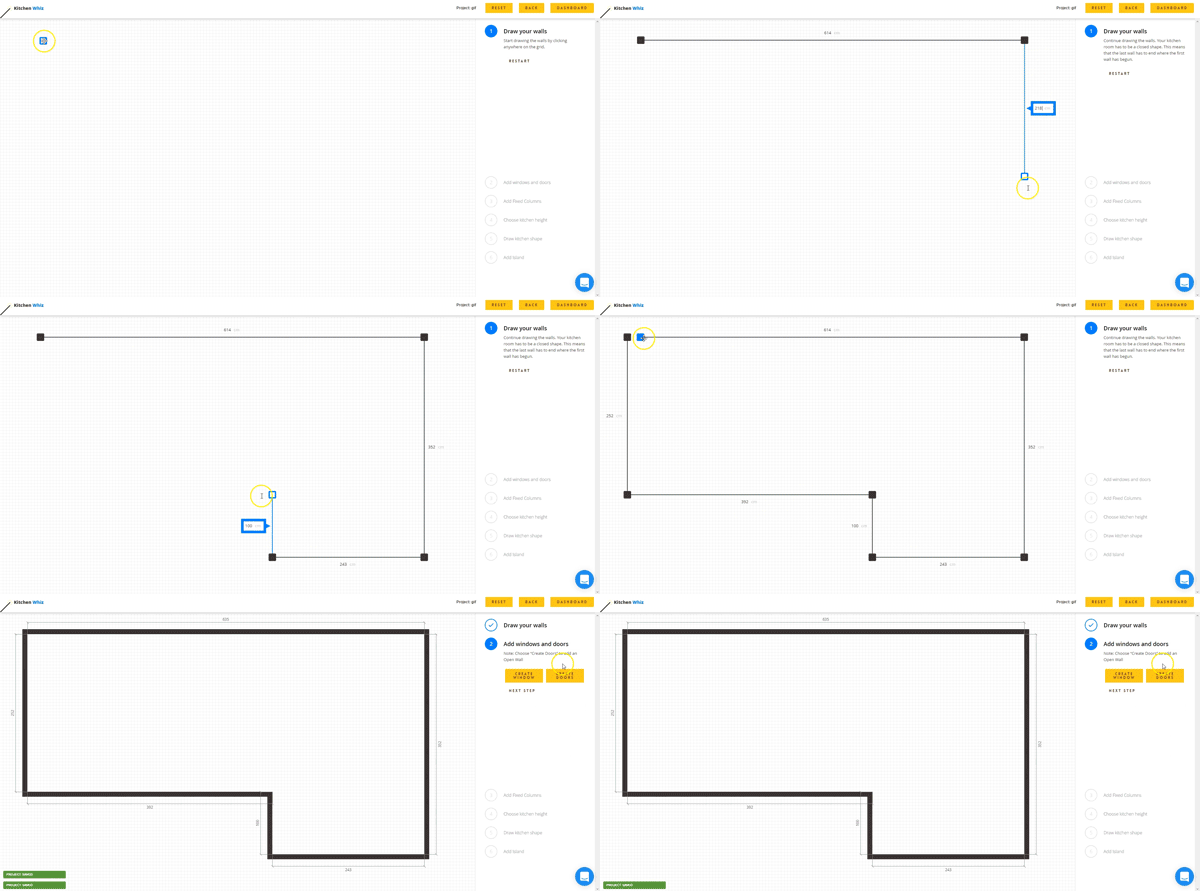
Custom room?
Click on the grid each time you want to create a new room corner. Make sure that you create a closed shape or you will not be able to move forward.
Finally.. choose your ceiling height.
Move to the next step to add windows, doors, and open walls.
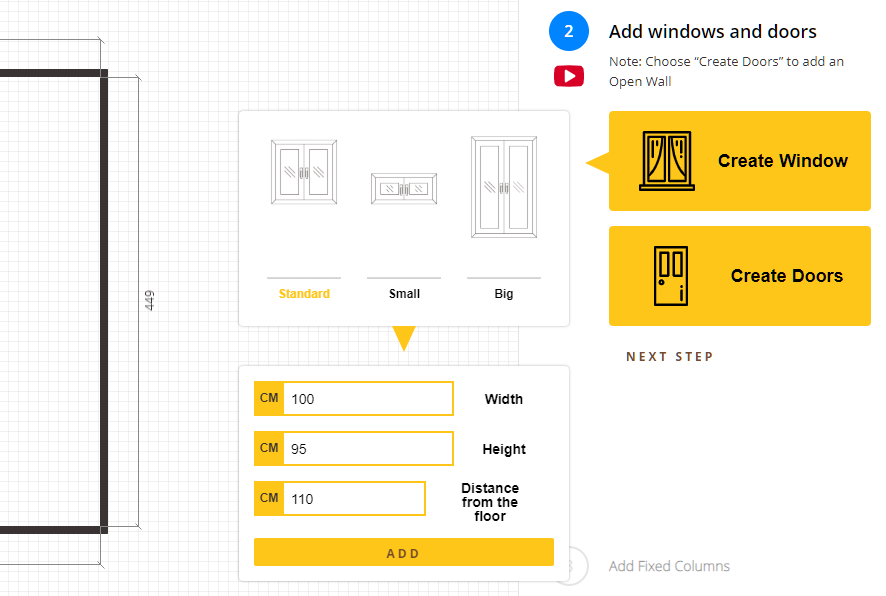
Do you have a fixed column in the room? Add it in the next step!
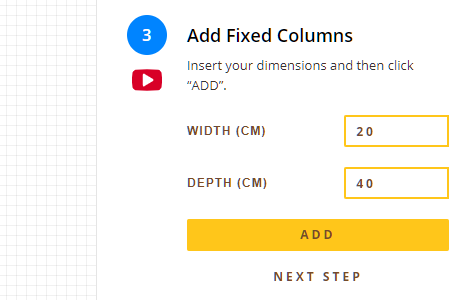
Adding fixture such as windows, doors, and fixed columns at the correct position is vital!
Based on their position, KitchenWhiz will make sure that you have a functional design without errors.
KitchenWhiz will not allow you to place any cabinets over these fixtures, and also it will make sure you have enough corridor space arround them.
Step 2: Design Your Kitchen Layout
After selecting your kitchen height, here comes the most fun step of all.
Traditional kitchen design software require you to place each cabinet one by one on the design.
Not KitchenWhiz 😉
We want to make your life easier, that is why KitchenWhiz will auto-generate your kitchen cabinets front views in 2D & 3D instantly!
All you have to do is draw your kitchen cabinets layout.
First choose your cabinets type
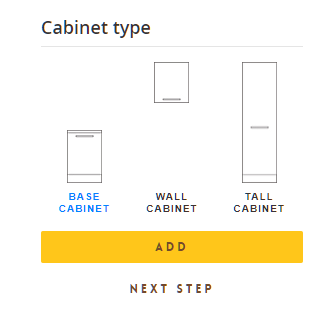
Then start drawing
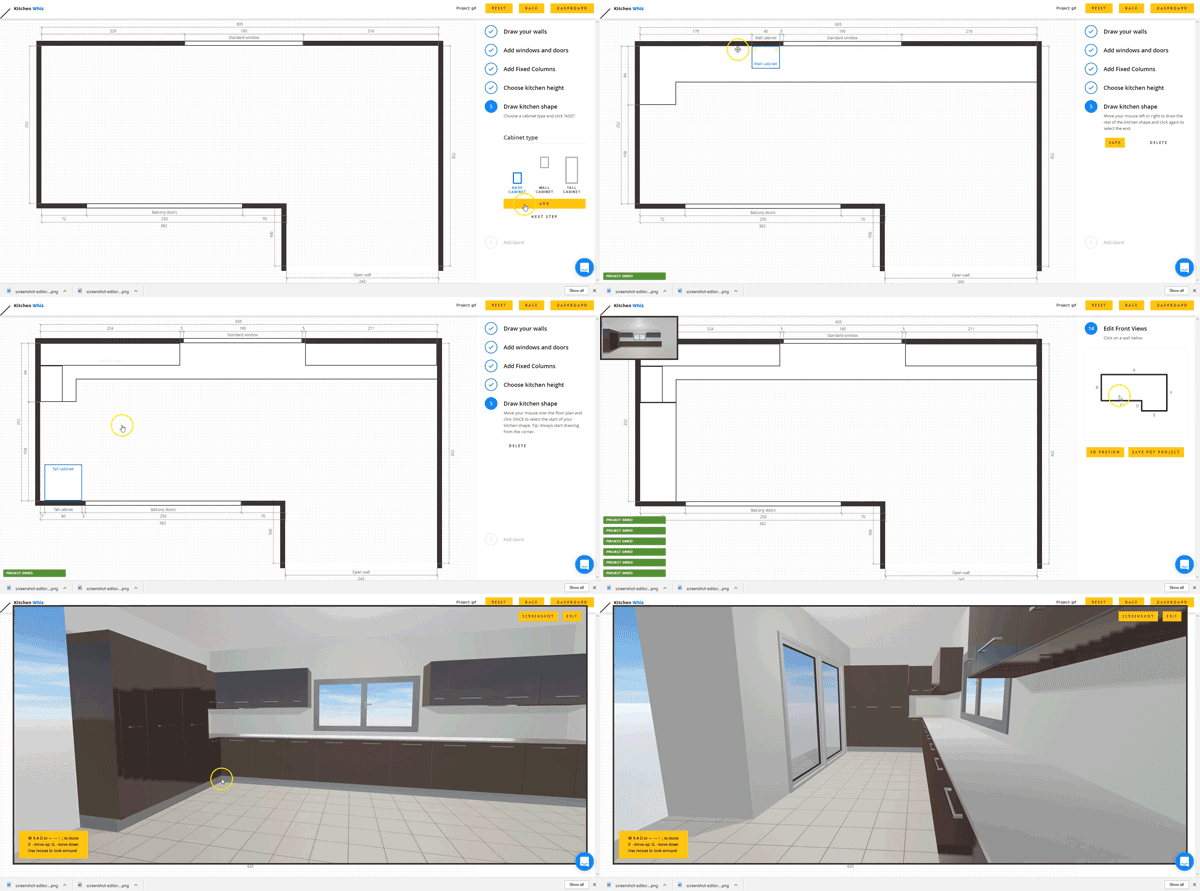
Repeat with each cabinet type until you are satisfied.
Next, add an island, if you want to.

Choose the island depth and width and click “Add” to place the island.
You can then rotate the island and move it around in the room.
KitcenWhiz will ensure you have enough corridor space around the island, so don’t worry!
Step 3: Is your Kitchen Layout Functional?
Next, you will be adding your appliances. This is the final step before generating your front views.
I have a question for you though!
Question: How do you know if your kitchen design is functional?
Answer: “Just use the Kitchen Work Triangle”
Creating a technically-correct and functional kitchen design is a priority.
In real life, you want your kitchen designs not to just LOOK amazing.. You also want the Kitchen cabinets to be easy to USE in the real life.
You want to make life easier..not difficult!
The work triangle is an amazing way to achieve just that!
The Bad news… in real life, using the work triangle is not that easy.
The Good news… with KitchenWhiz, this becomes a piece of cake!
What is the work triangle?
The kitchen work triangle is a concept used to determine efficient kitchen layouts.
The hob, the sink and the refrigerator are the primary stations in any kitchen room.
These three points should be in a close (but not too close) proximity to each other, so that the kitchen will be easy and efficient to use, cutting down on wasted steps.
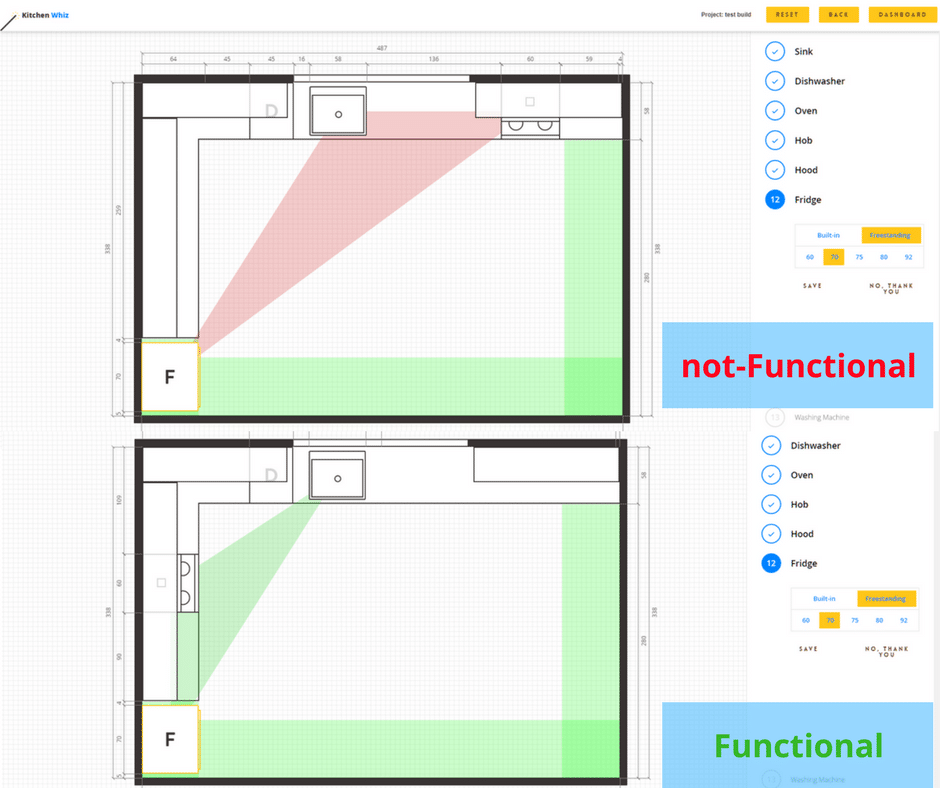
In the example above:
When the hob is positioned on the upper wall, KitchenWhiz will warn us that the 3 core appliances are too far from each other! (red triangle)
By pressing the “Back” button, we can move back and reposition our appliances.
Finally, we move the hob on the left wall and KitchenWhiz indicates that all appliances are close to each other. (green triangle)
As a result, we now know this is a more functional kitchen!
Step 4: Customize your front views in 2D/3D
Great! KitchenWhiz has generated your kitchen front-views with all fixtures, appliances, and cabinets.
Now you can customize your design in just a few clicks!
Click on the cabinet you want customised
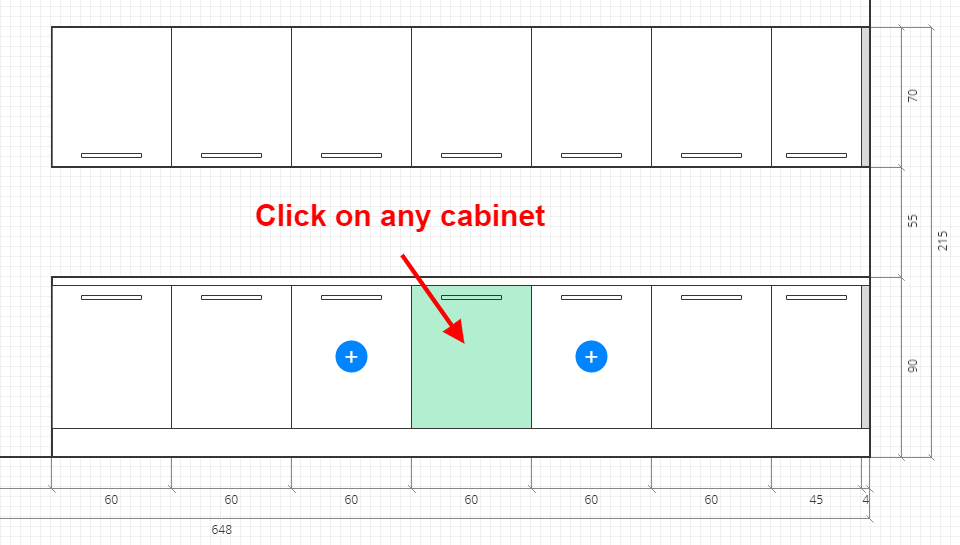
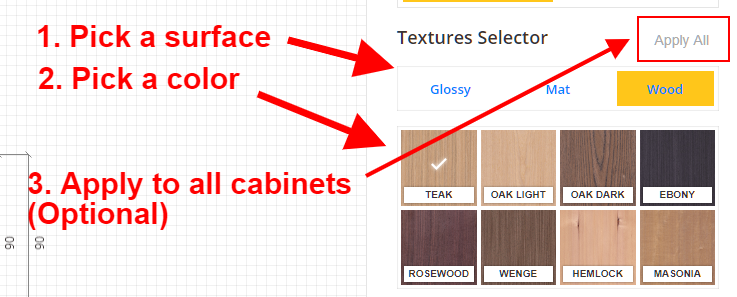
Then from the side bar..
Change your cabinets’ colors
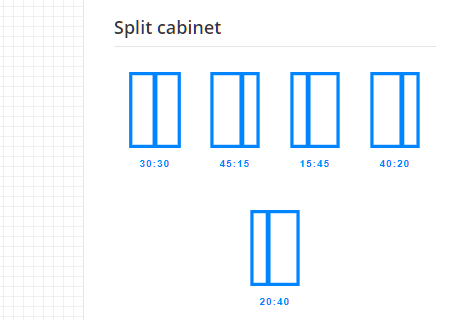
Split a cabinet
Do you want to make a cabinet small in width? Just split it from the sidebar.
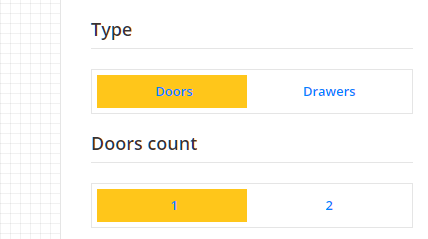
Change the type or door count
Doors to drawers, and vice versa
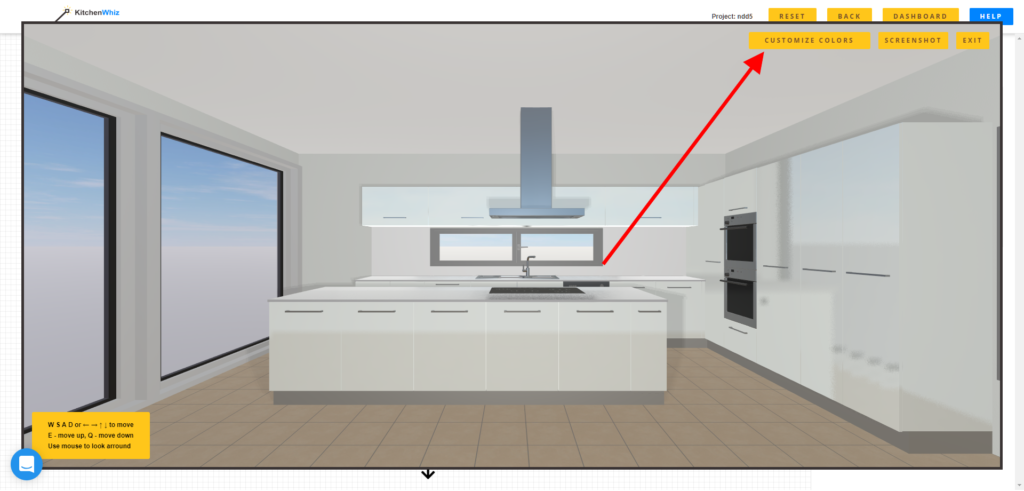
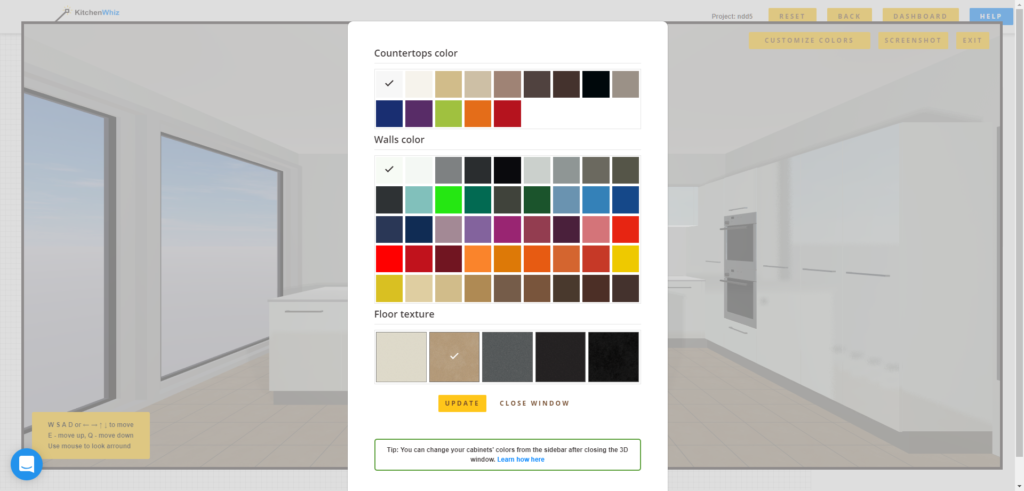
Change the floor, countertop, wall colors
Maximise the 3D window and click on the “Customize Colors” button
Step 5: Download your Kitchen Plan in 2D/3D in 1-Click
Congrats! Your kitchen plan is now finished and customized.
You may want to download what you created and here is how.
We have 2 options.
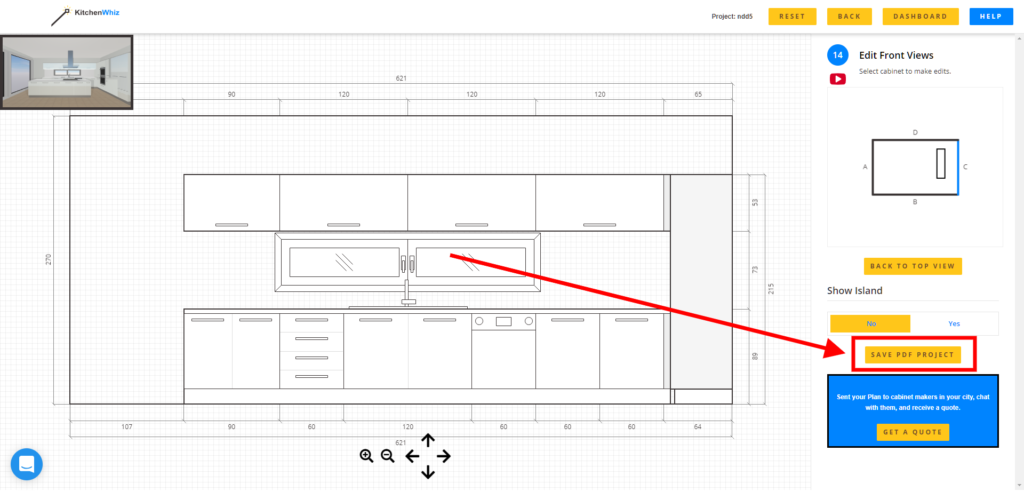
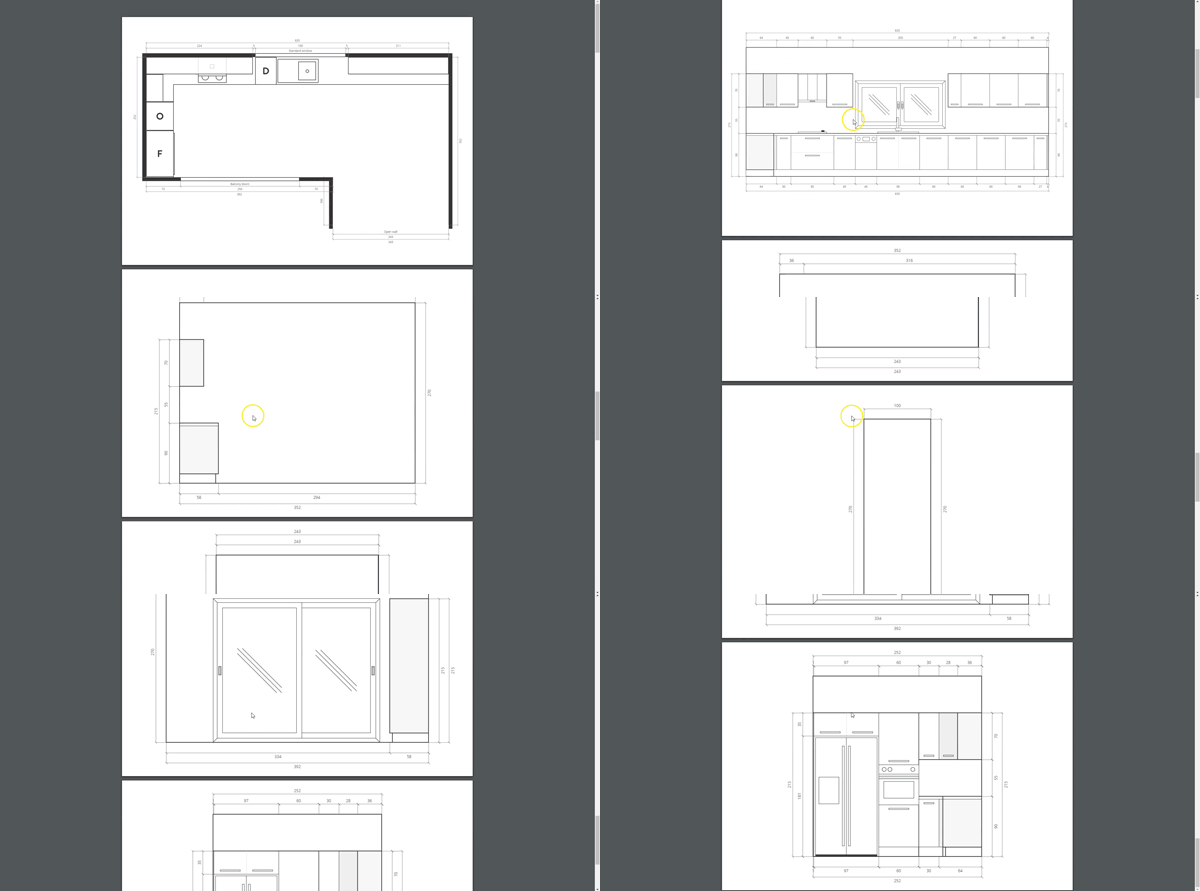
2D Plans download
This option allows you to download your front views and floor plan in 2D with all measurements included in one go!
Click the “SAVE PDF PROJECT” button
TADA! 🎉🎉
3D Snapshot
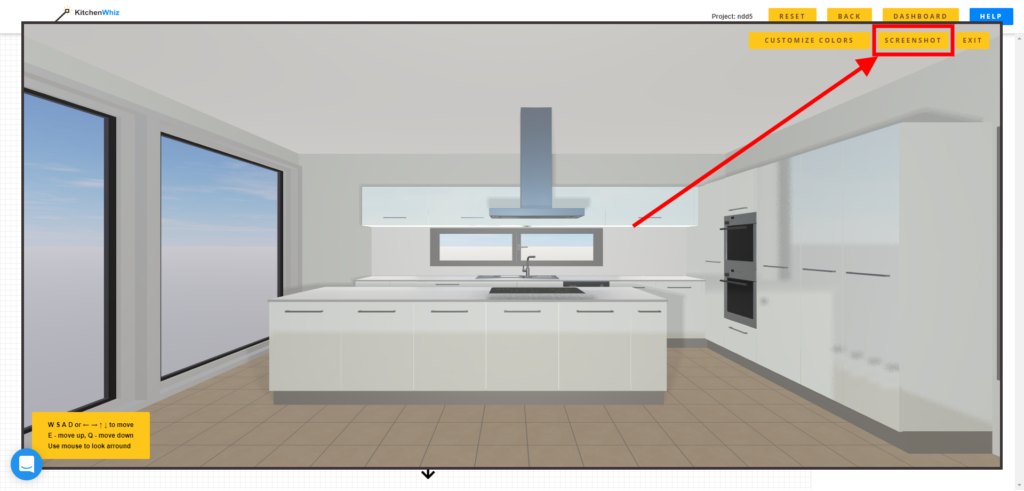
You second option is downloading a snapshot of your plan in 3D.
You can place the camera at any position (and height) you want.
How? Check the video below
Then click the “Screenshot” button.
Start Designing Now: kitchenwhiz.com